
Bad to Fab Reupholstery!
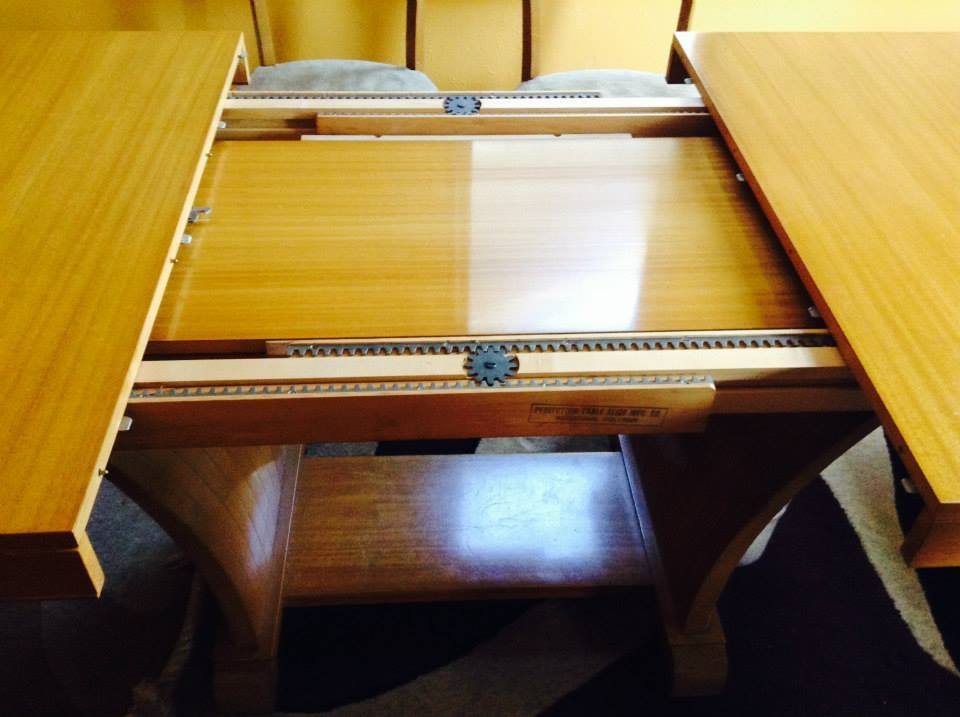
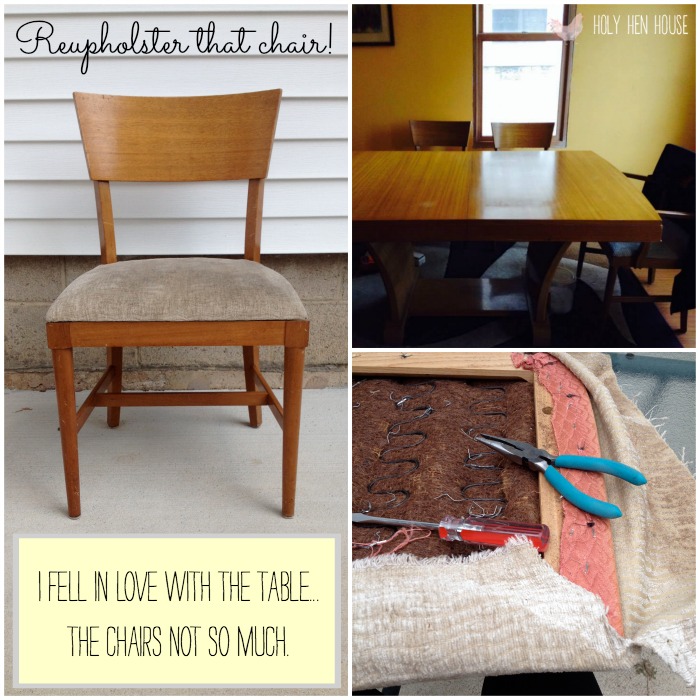
Knowing that my husband and I were moving into a house that our family would call home for more than a year (yay!) I greatly anticipated updating and purchasing a few items that I had put off with our 10+ moves in eight years. Our bed still lay on the floor without a bed frame, our standard Ikea kitchen table for four was outgrown, and our TV that was gifted to me when I graduated high school (10 years ago!) displayed about four colors. It was time to get thrifty! When I was surveying Craigslist and garage sales for these items my friend Amber mentioned at bible study one week how she knew a woman who was motivated to sell her old dining room table set and wanted it out of the house. I could tell by looking at the pictures that the wood was solid quality, had a unique mid-century leg look and its chairs were mid-century awesome. I was sold! I couldn't see the fabric on the chairs well but Amber mentioned in her message, "With some new fabric stapled over the seats they'd be Pinterest drool worthy."
The price was great and I knew this was a deal we could not miss out on! I was sold! And so was my husband after I talked to him. yay!
Once we unloaded the table into the garage it was clear that there was a little more wear on the seat cushions than I had thought. The beige material was stained and definitely needed to go from bad to fab. I quickly grabbed a box, flat head screw driver and pliers to pull the cushions off and remove the staples. After I pulled off one layer of fabric I found not one but two more layers underneath and the foam cushion was an odd mix of some hair and old foam which when pushed sent out black spores like those weird mushrooms... anyways. I was ready to pull off all the material and do these seats right but it would take me more time than I expected - a lot more. Keep in mind I have never done any reupholstery work before. If I can do it, you can.
If you are at all inspired to reupholster some chairs (think bare bones here ladies) here's what you'll need! Thankfully I had a 50% off JoAnn Fabrics coupon off my entire purchase including sale items and was able to buy the items that I didn't already have at a reasonable price.
- Flat head screwdriver
- Pliers
- Scissors
- Marker
- Staple Gun & staples
- 3 yards of batting (good for six dining chairs)
- 3 yards of material to reupholster the chairs (good for six dining chairs) - I purchased 4 yards to make sure the circle medallion would be center on all chairs.
- 3 yards of dustcover material for under the cushion
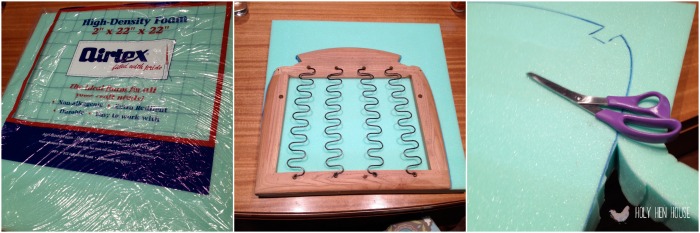 1. Unscrew the chair cushion from the seat and remove all the old layers of fabric, foam cushions, staples and nails from the wood frame.
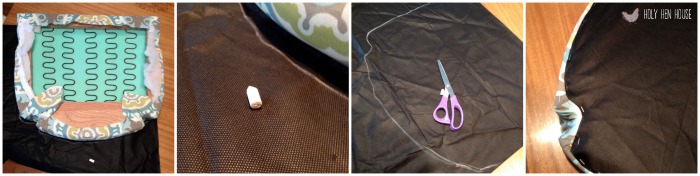
2. Place the wood frame on top of the new foam to trace and measure out the size to cut out.
3. Cut out the traced pattern of the wood frame to be placed on the top side of the seat. You can use a scissors or I have even seen some using an electric carving knife. We don't have one so I tried my luck with the scissors and I think it turned out just fine.

4. Cut the batting to fit each seat.
5. Place the foam cushion with the underside facing the ceiling and the batting coming from underneath to soften and smooth out the edges of your cushion.
6. Pull snug on the batting and staple using your staple gun around the trim of the wood frame. This will also hold your cushion in place.
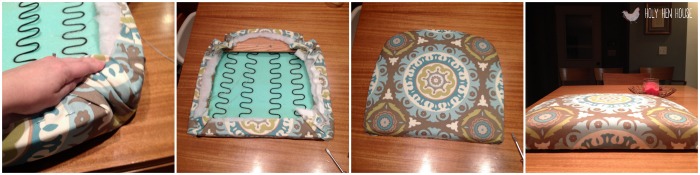
7. Cut the fabric to fit each seat. I had to be extra careful that my fabric's pattern would stay centered and symmetrical. The fabric I purchased is Waverly Sun N Shade Outside - Solar Flair Poolside. I decided to go with something a little more canvas-like in texture as we have little ones who are likely to spill and I wanted to be able to clean up after meals easily.
8. Place the fabric under the seat cushion and have the underside facing the ceiling again.
9. Pull snug on the fabric and staple using your staple gun around the trim of the wood frame.
10. Fold and staple the edges similar to how you wrap a gift to have straight lines.
11. Cut excess fabric and batting from the underside of the cushion.
12. Place the cushion on the dustcover material and trace with chalk.
13. Cut the dustcover fabric to fit each seat.
14. Staple the dustcover onto the bottom of the seat cushion.
(PS - I tried ironing out the wrinkles on the dustcover on my lowest iron setting and it got burned onto the bottom... terrible idea. At least no one will be looking at the bottom of my chairs. Except for you now, anyhow. eh!)
15. Screw the chair cushion back onto the chair and exhale! You did it! Well, one chair... now you just have to complete 5 more! Seeing the transformation will hopefully keep you motivated as it did for me.
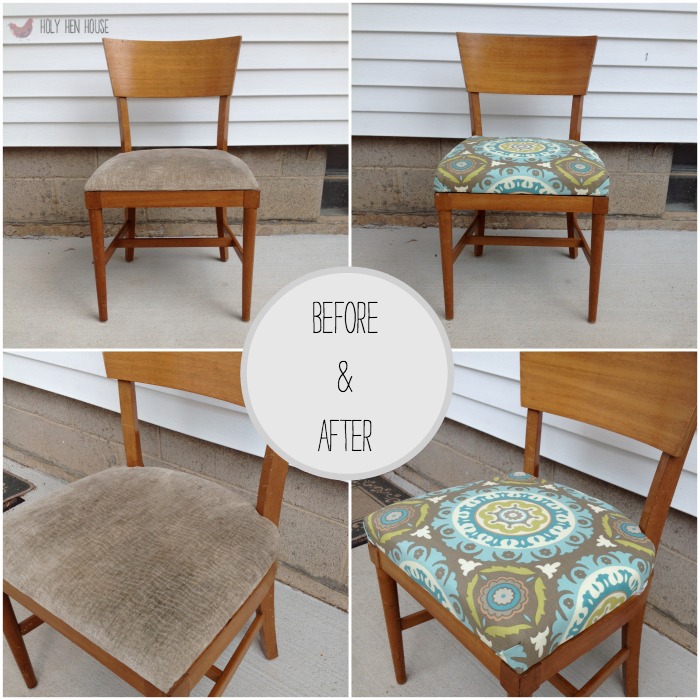
Here's my official before and after!
Here is our table with a lovely egg breakfast sandwich that my hubby made for me one day when I wasn't feeling good and he let me sleep in. Feeling more and more like home. <3

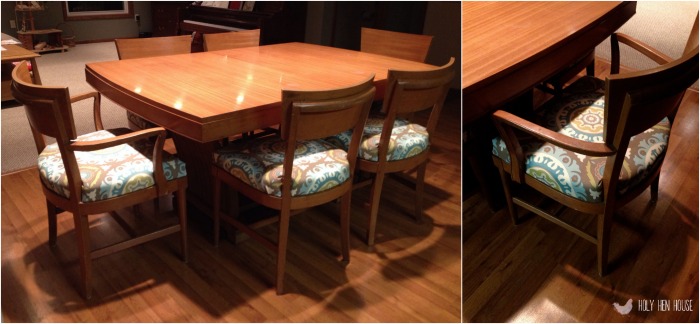
Here's a more clean look at the table with all six chairs (4 regular and 2 captains) for when we have company.
What do you think? Is the pattern too busy or bright? I went back and forth debating if I should use this fabric or a more neutral beige embroidered fabric and ultimately went with this one. I'm just happy it's done and completed before baby arrives!
